Y Hanger

The tan rope has been tied into a Somerville bowline, with the standing part exiting to the upper left of the image. The knot is centered between the two blue ropes and two loops exit from it, one going around each of the blue ropes.

This topic is still under development.

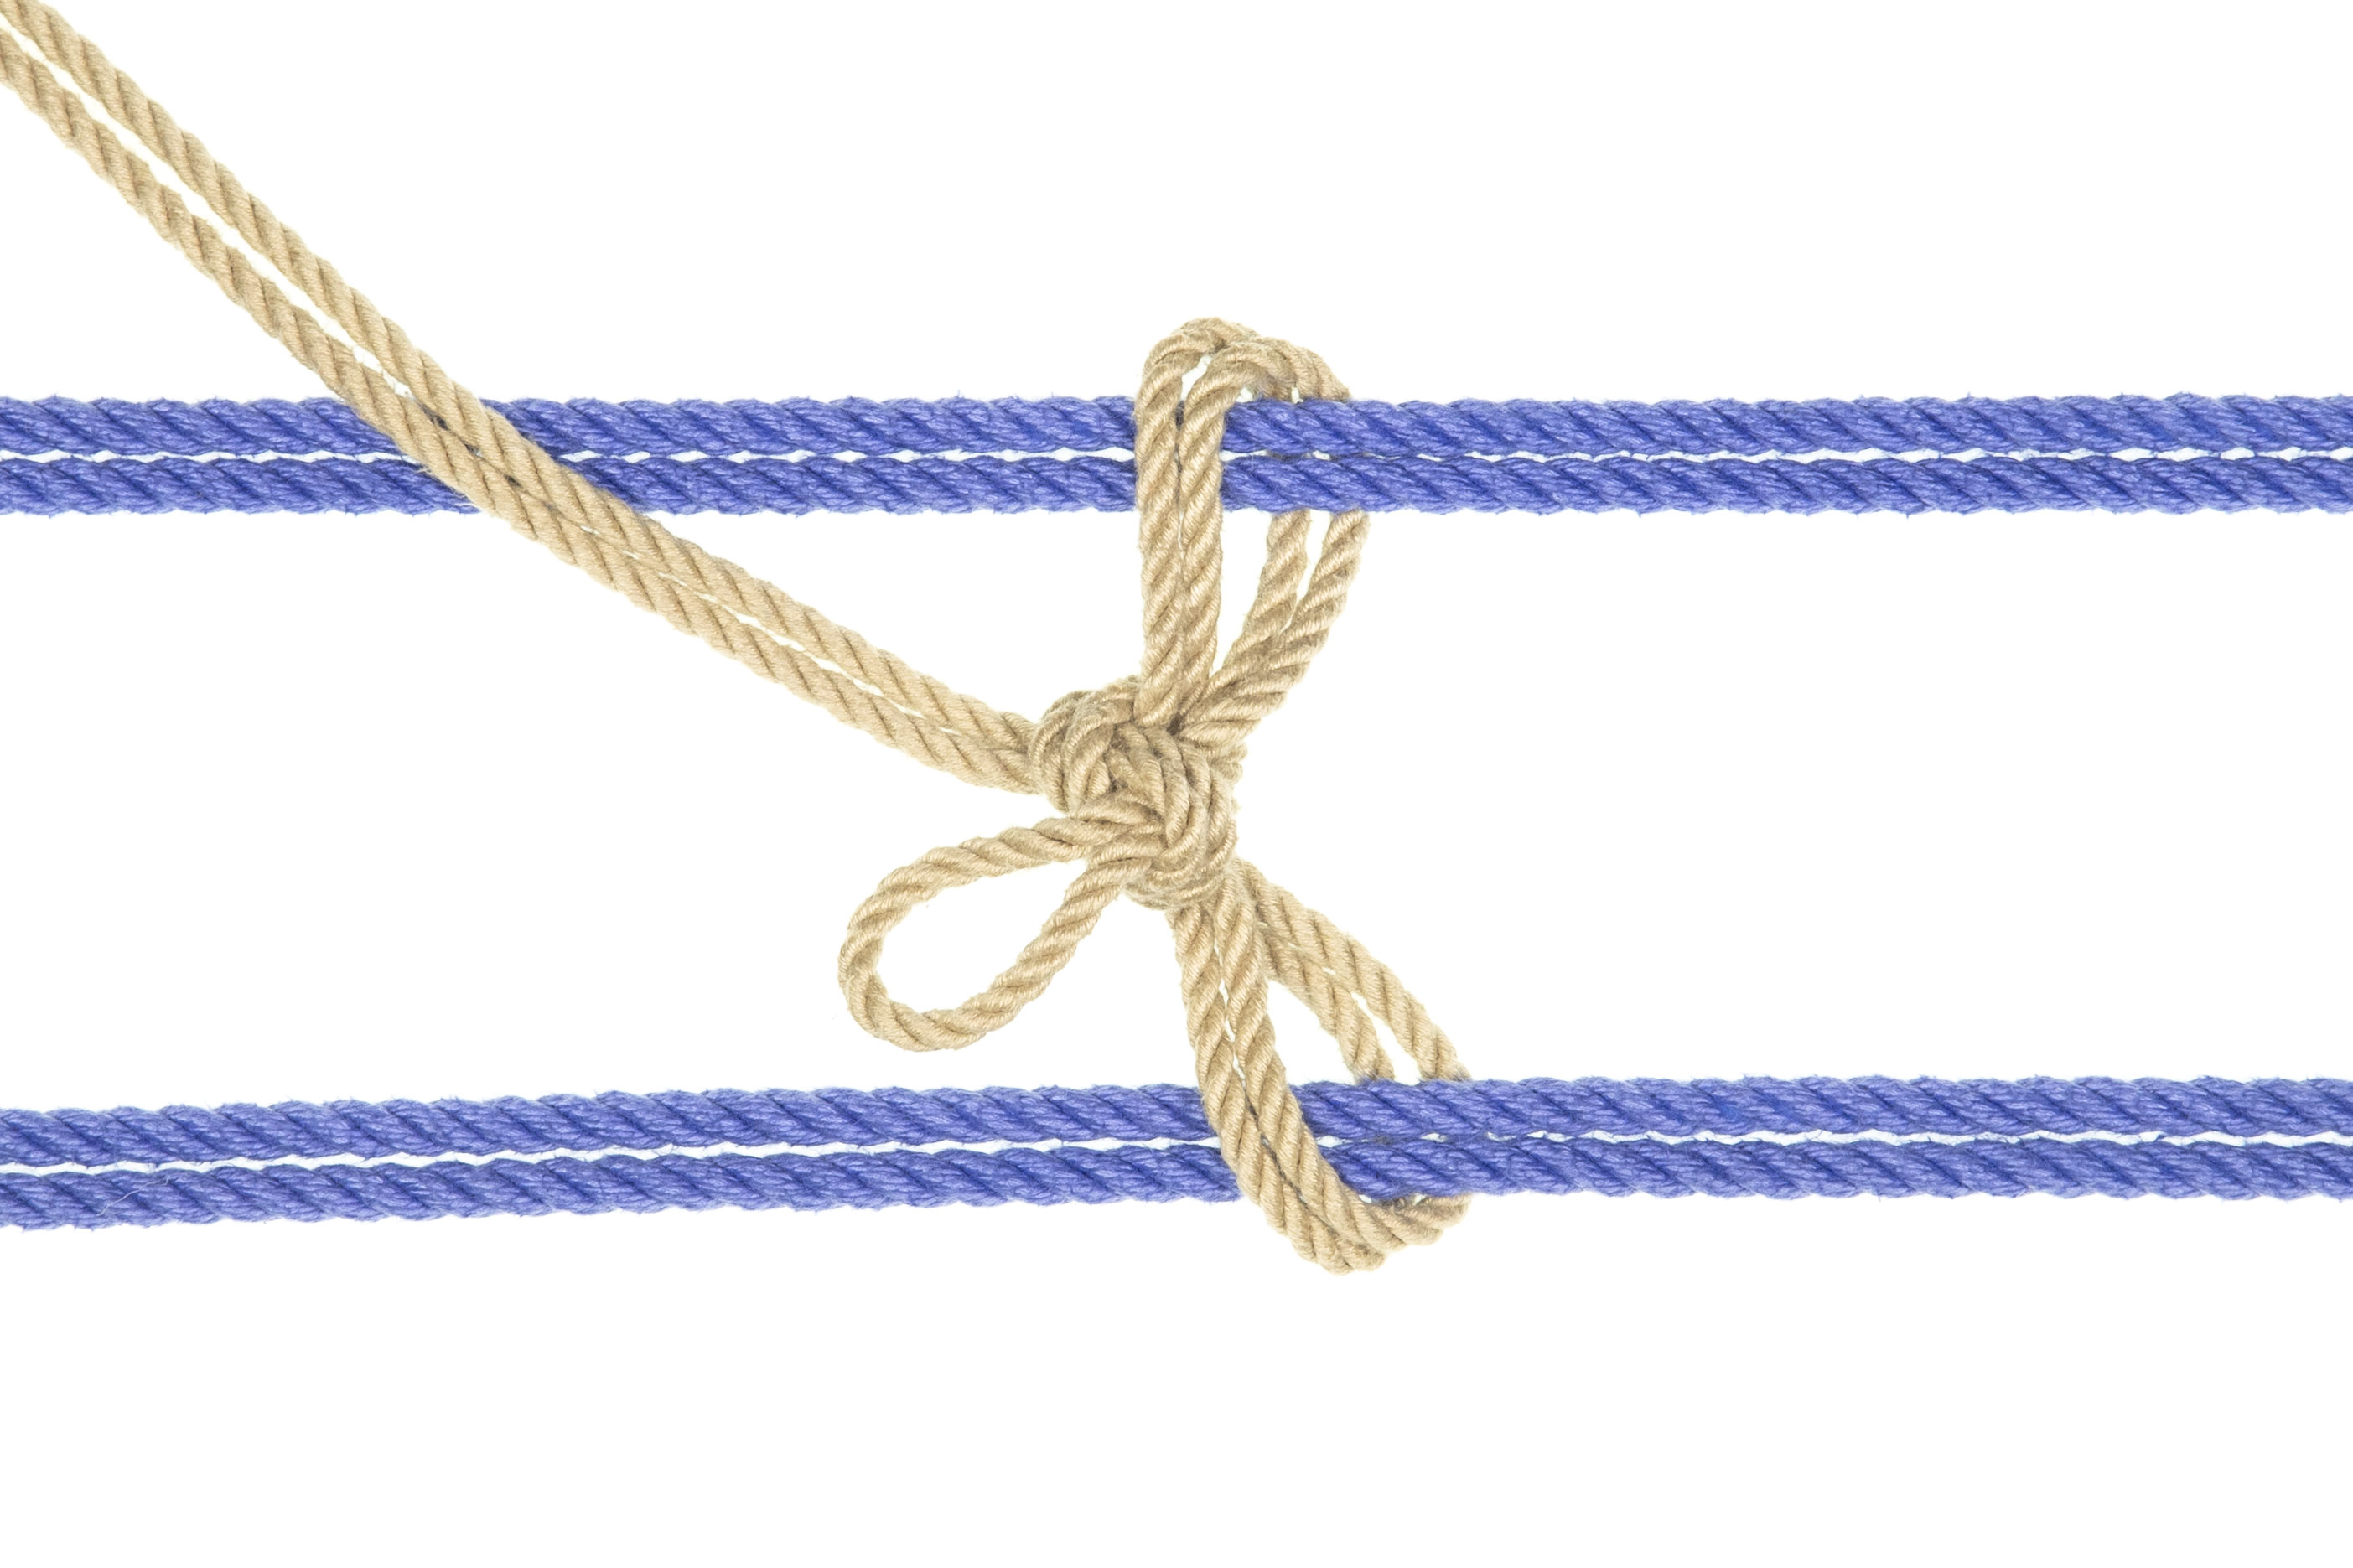
Attaching an upline to a body harness with a Somerville bowline.

Step by step

The image is divided into four quadrants by two doubled blue ropes. The quadrants are labeled NW, NE, SE, SW starting in the upper left hand quadrant and proceeding clockwise. The bight of a tan rope enters from the SW quadrant, crosses over the horizontal blue rope into the NW quadrant, and goes under the horizontal blue rope back into the SW quadrant.

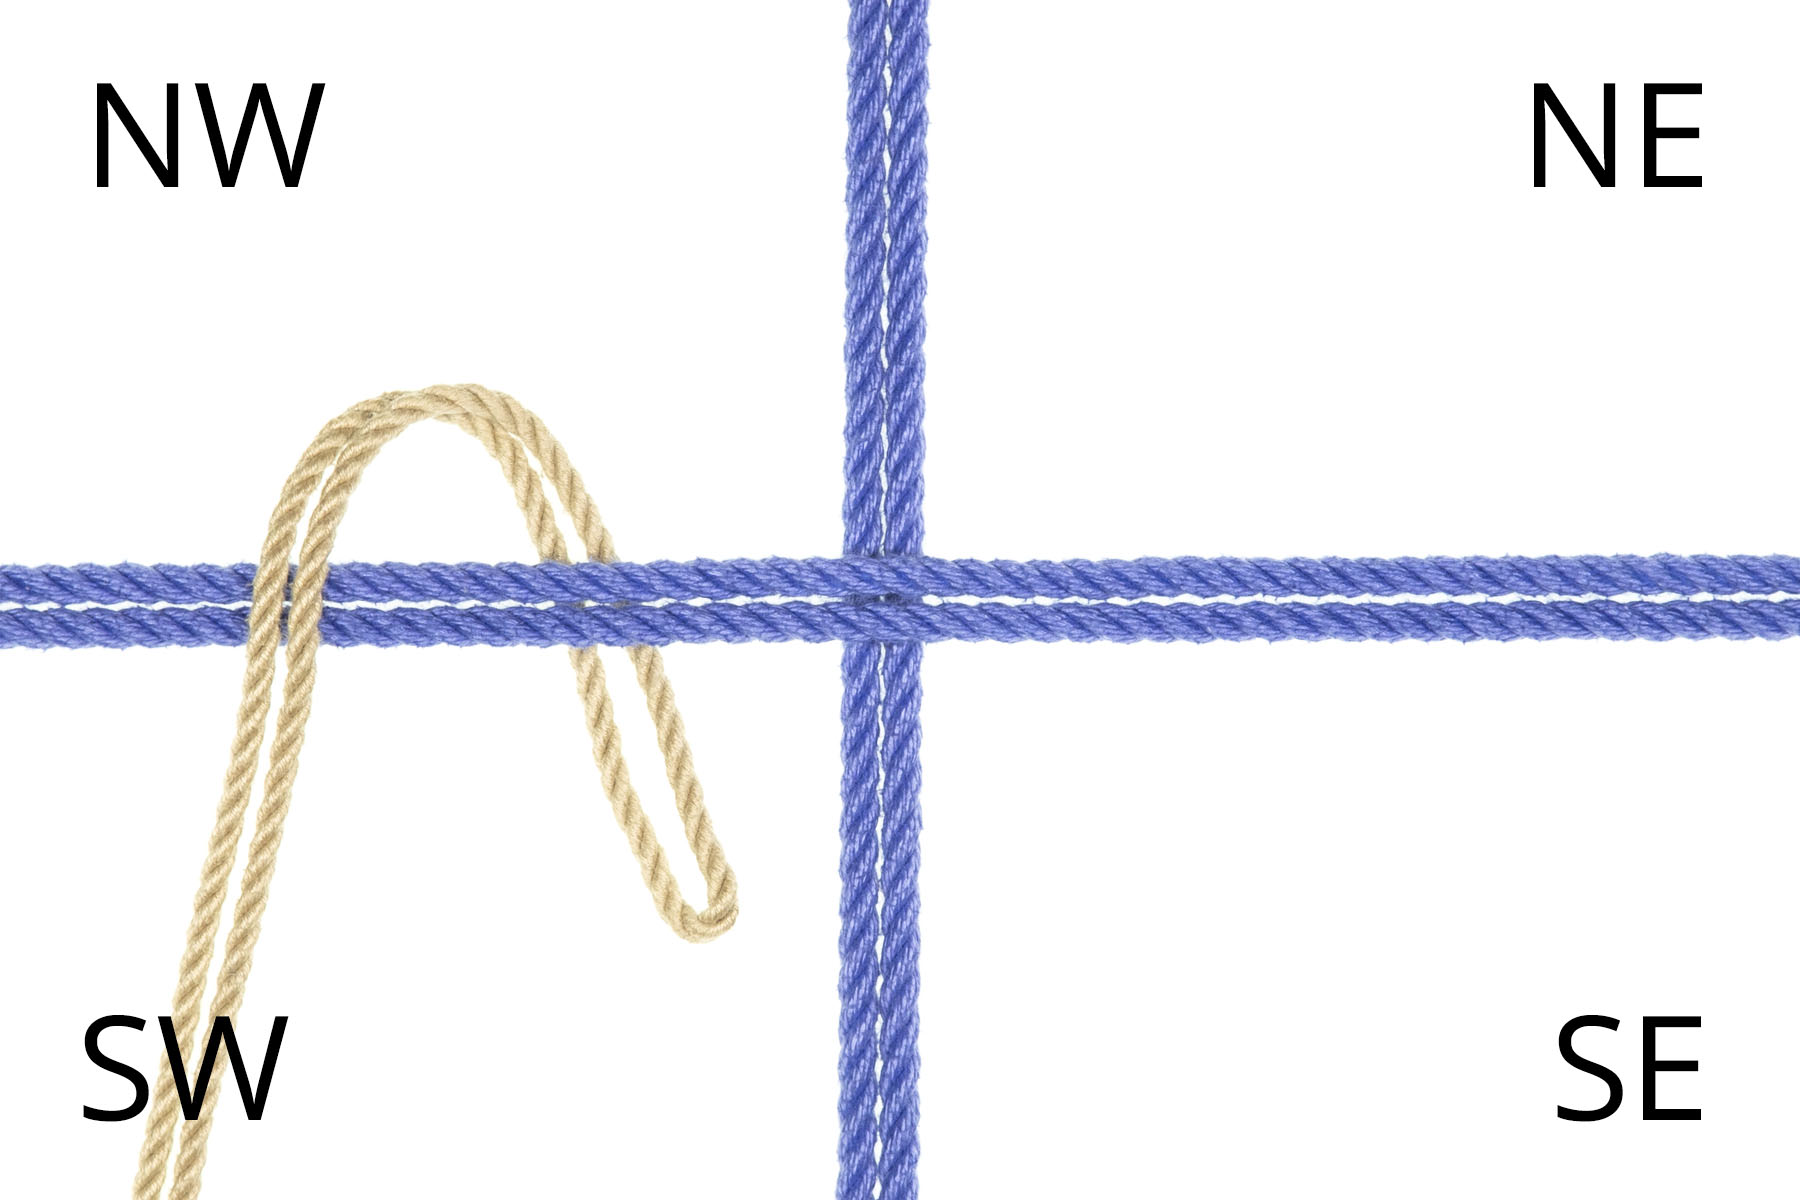
1Pass the bight over the horizontal band, into the NW quadrant.

Go under the horizontal band, into the SW quadrant.

The tan rope crosses over the intersection of the two blue ropes, into the NE quadrant.

2Go diagonally over the stem, into the NE quadrant.

The tan rope crosses under the horizontal blue rope, from the NE quadrant into the SE quadrant.

3Go under the horizontal band, into the SE quadrant.

The ropes have not moved, but the vertical blue rope is grayed out to make it clearer that the tan rope makes a spiral around the horizontal blue rope.

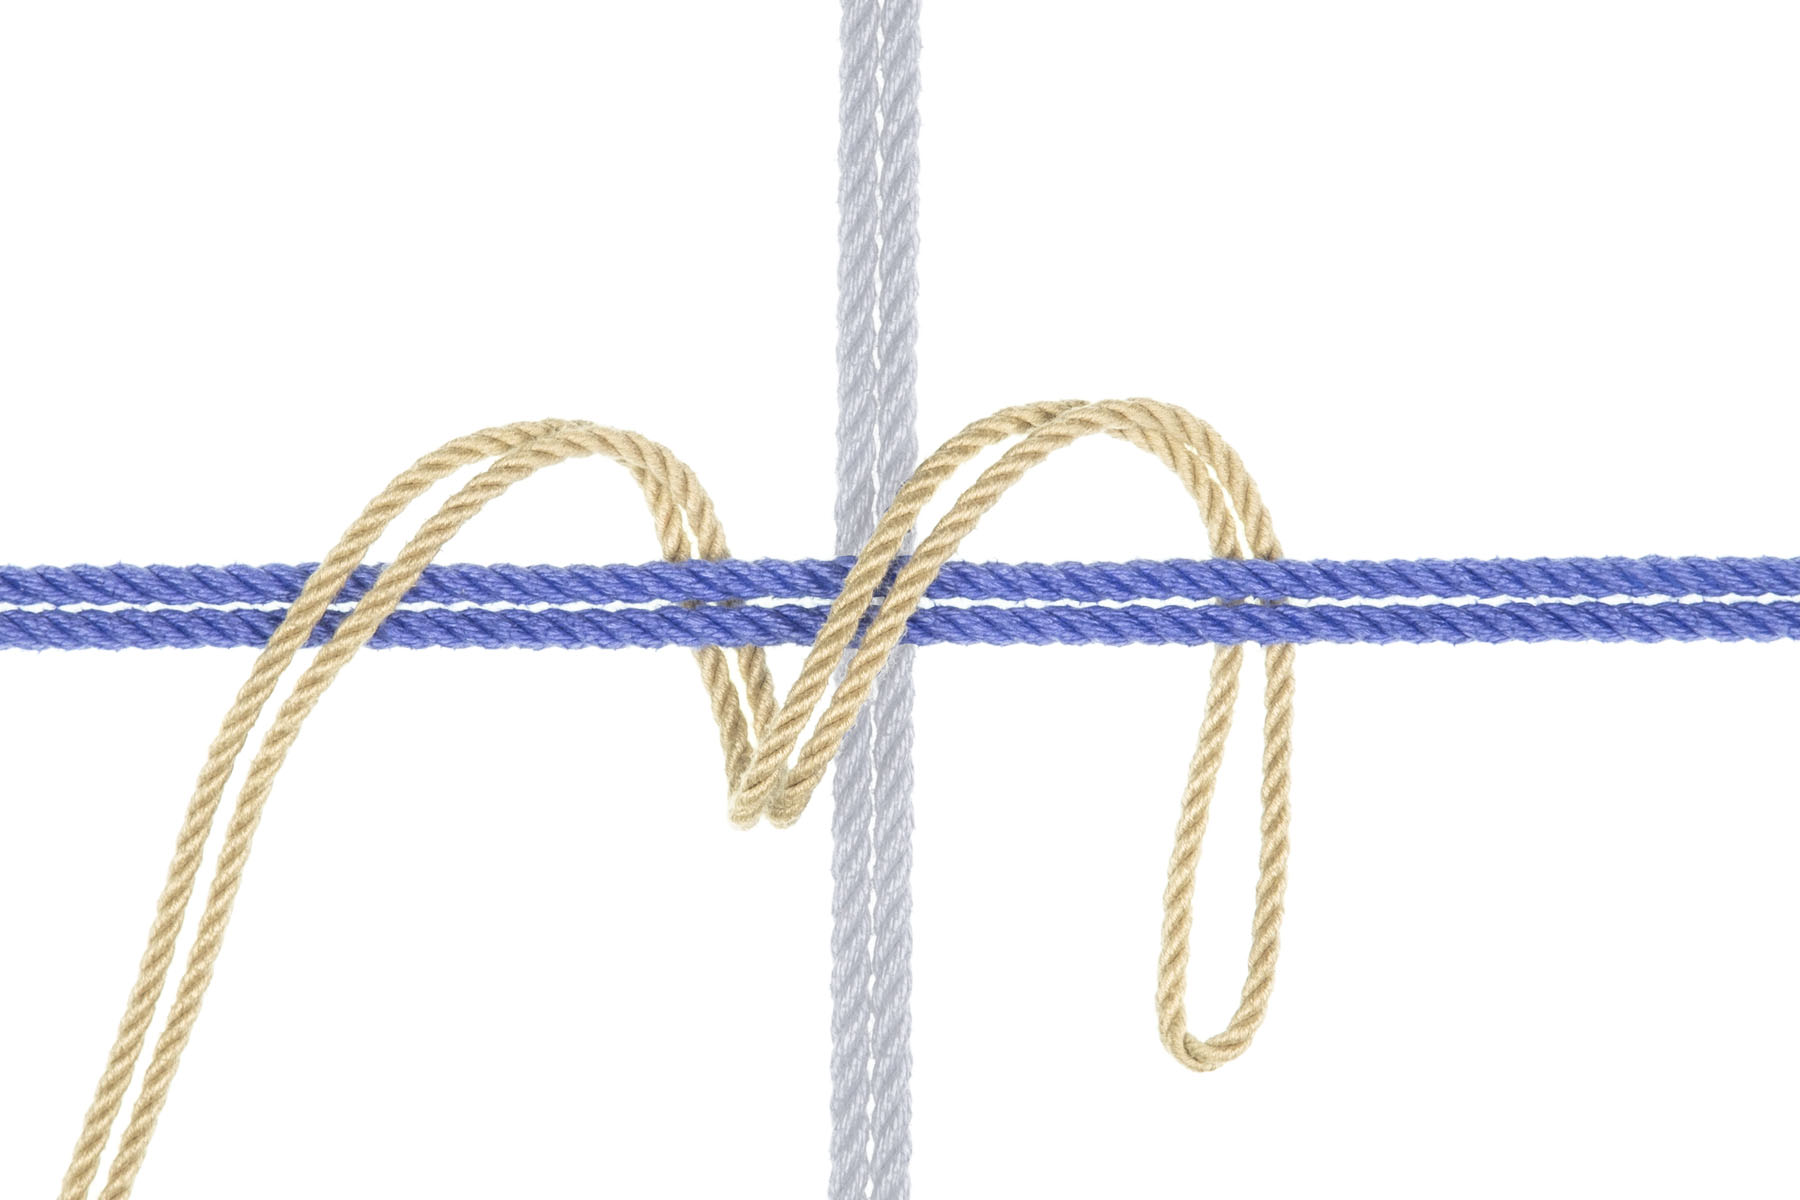
4Check that the line passes through all four quadrants and makes a smooth spiral around the horizontal band.

A left hand in a white glove is laid on top of the horizontal blue rope, crossing over the intersection with the vertical blue rope. The index and middle fingers are extended along the blue rope to the right of the image and the ring and pinkie fingers are folded. The tan rope has been collapsed into a tight spiral wrap around the index and middle fingers.

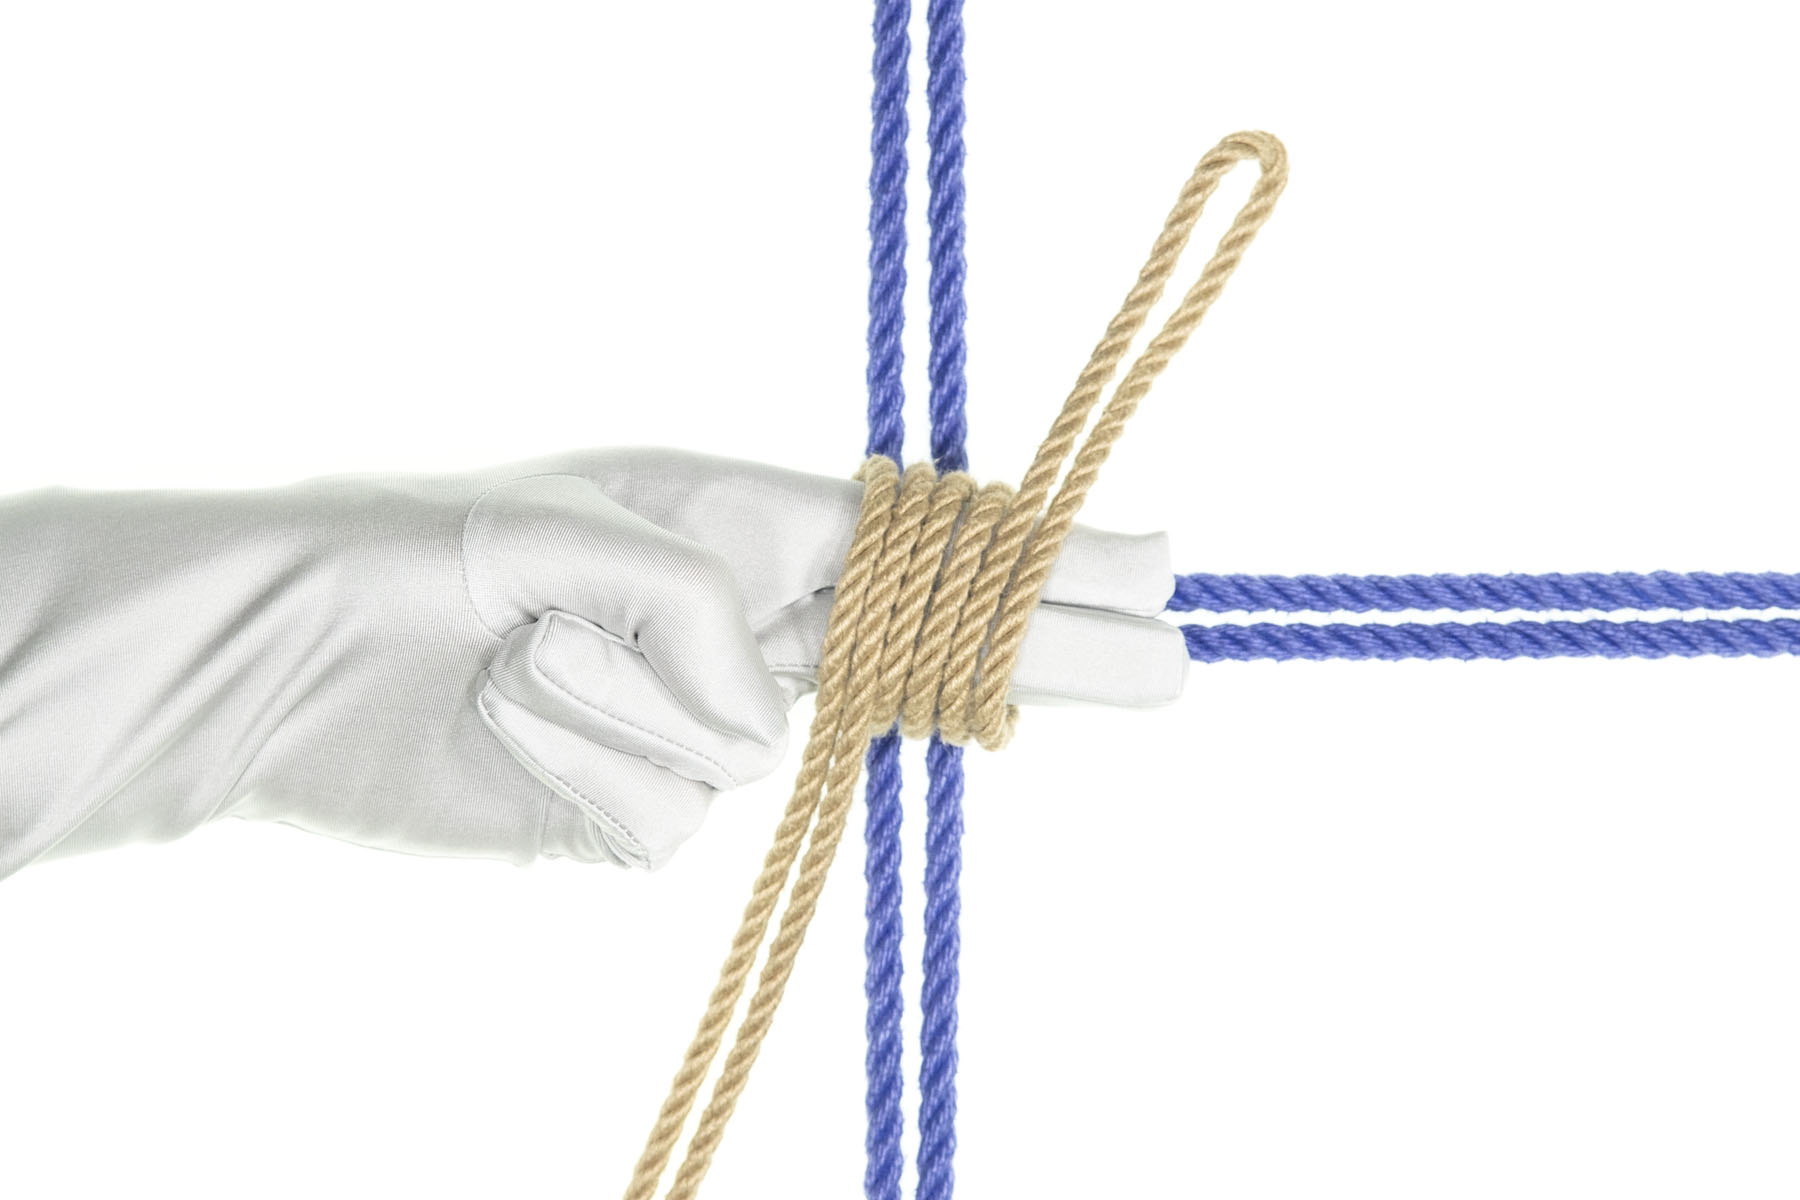
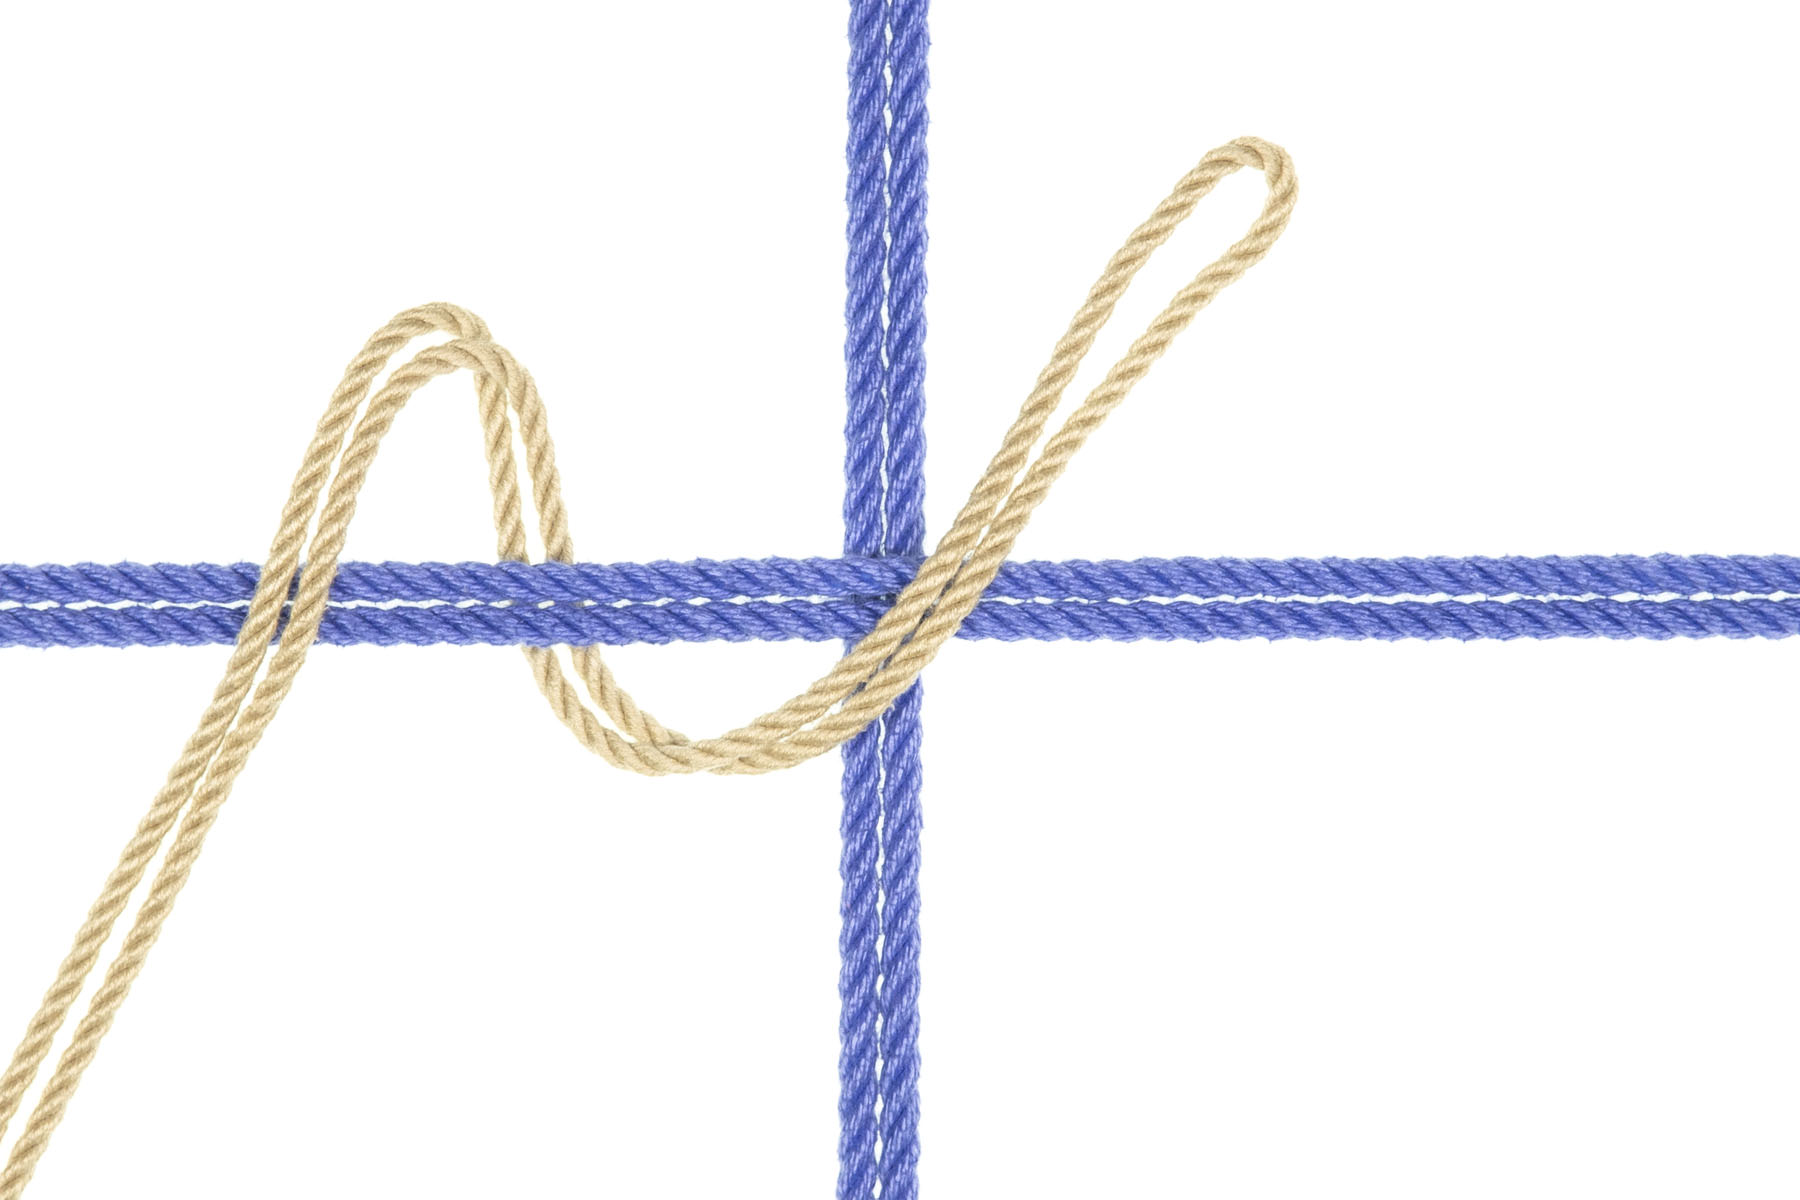
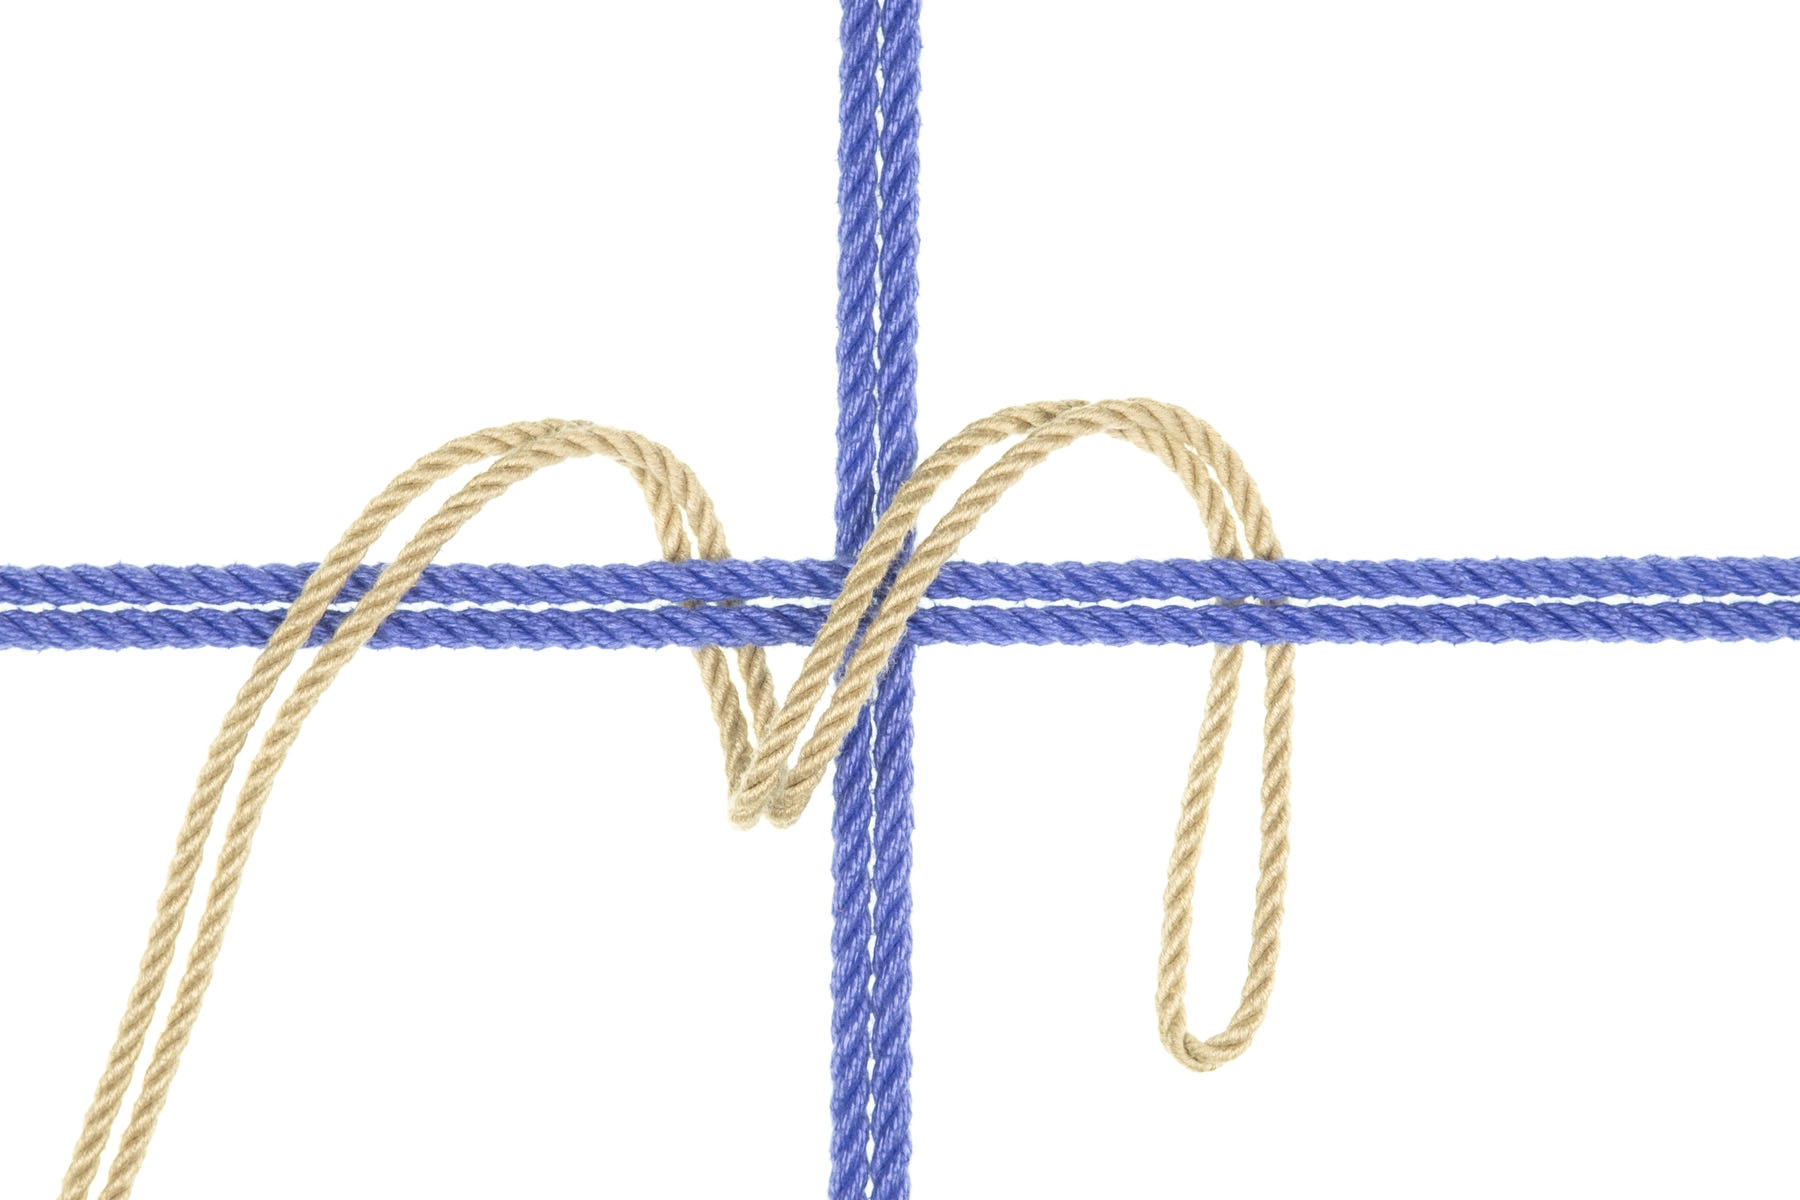
5With your hand in Polite Mouse Fingers position, slide your fingers under the wraps and lay the bight over your fingers.

Notice that this configuration is identical to step 2 of the Somerville Bowline.

The hand is gone and the tan rope has been tied into a tight Somerville bowline around the intersection of the two blue ropes.

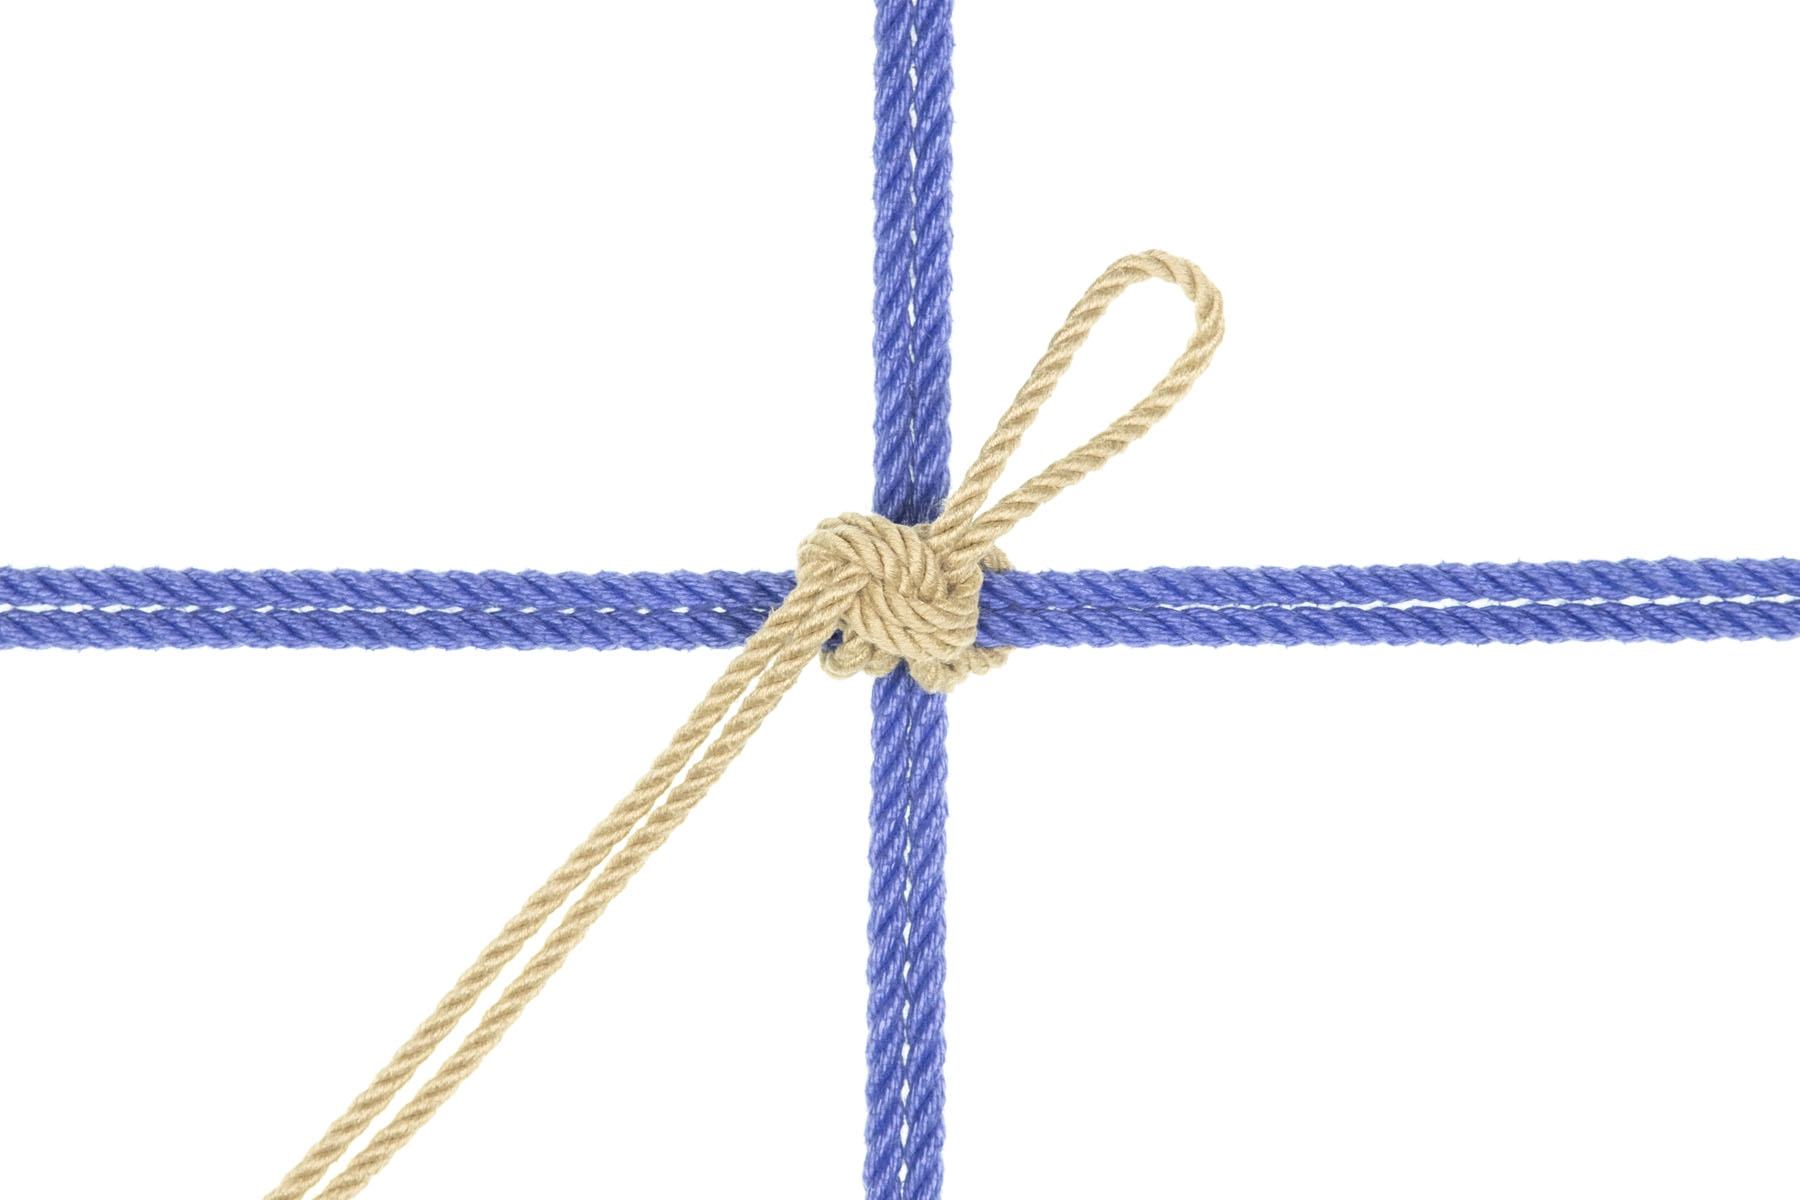
6Finish the Y hanger the same way you would tie a Somerville Bowline.

Parallel bands version

Two doubled blue ropes are stretched horizontally across the image, dividing it into thirds. The bight of a tan rope enters from the lower left and crosses over both blue ropes, moving upward and to the right.

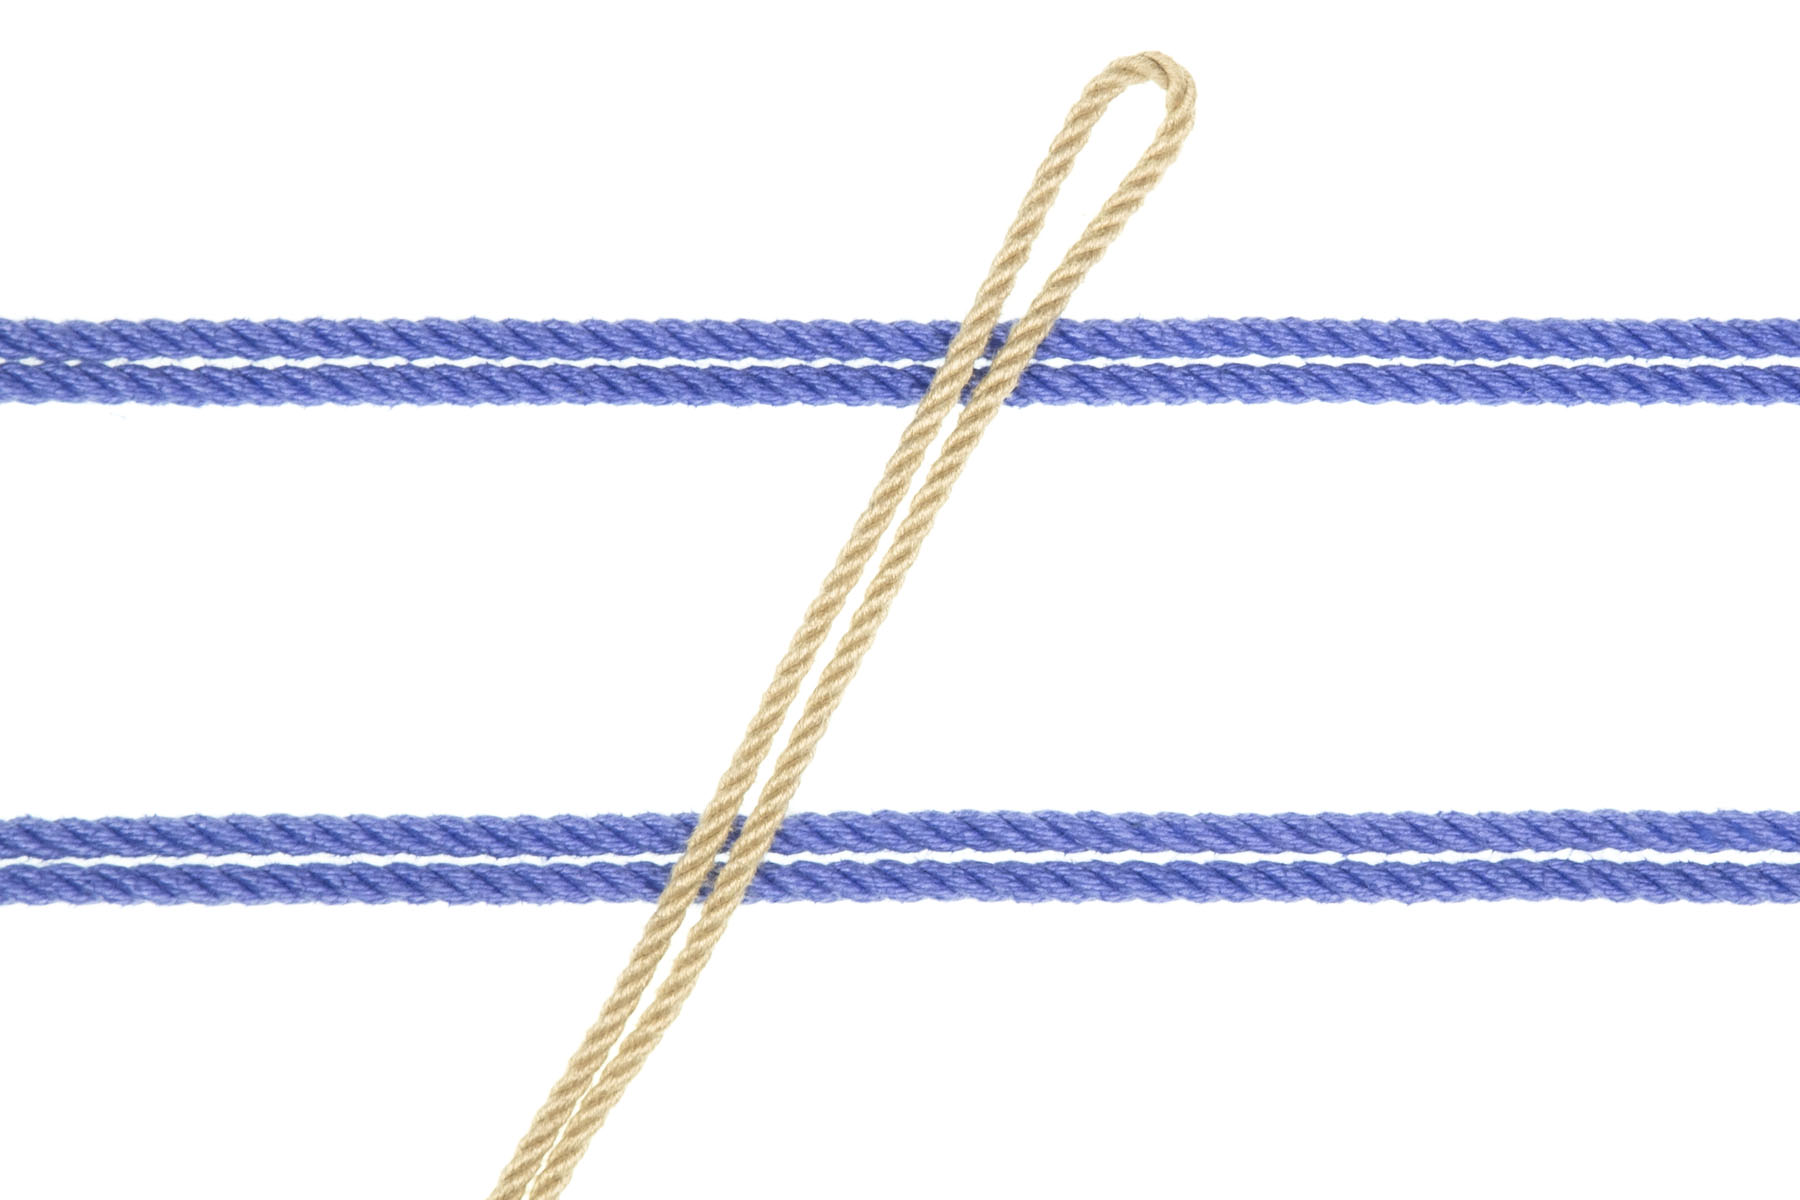
1Pass the bight over both bands.

The tan rope crosses under both blue ropes, moving down and to the right.

2Go back under both bands.

A left hand in white glove enters from the left of the frame, moving to the right in between the two blue ropes. The index and middle fingers are stretched out and the thumb, ring finger, and pinkie are curled. The index and middle fingers have slid underneath both parts of the tan rope and are pulling them up toward the viewer.

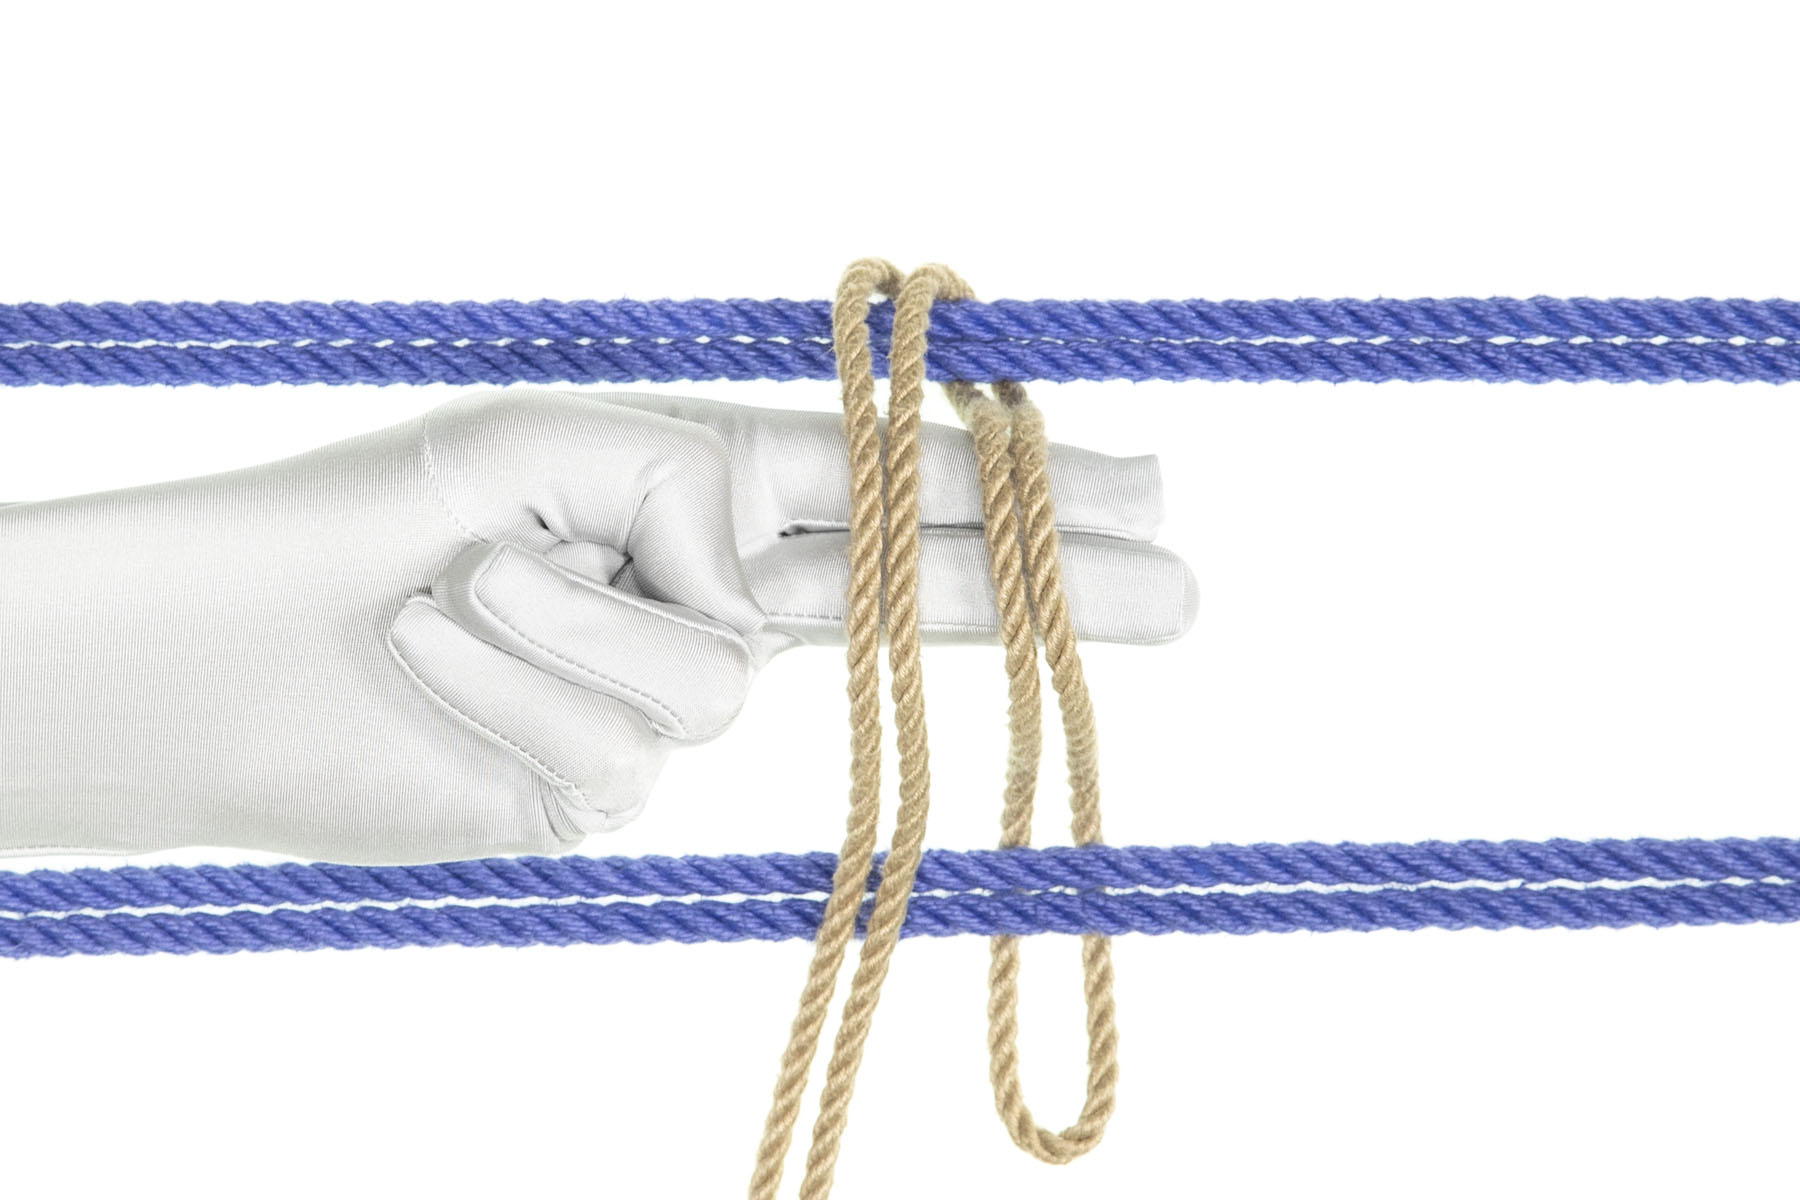
3With your hand in Polite Mouse Fingers position, slide your fingers under both parts of the upline.

Pull both lines a few inches away from the body, making a vee shape.

The bight of the tan rope has been laid over the index and middle fingers, next to the other two passes of the tan rope. All three passes of the tan rope have been slid together, making three parallel passes that lie on top of the fingers.

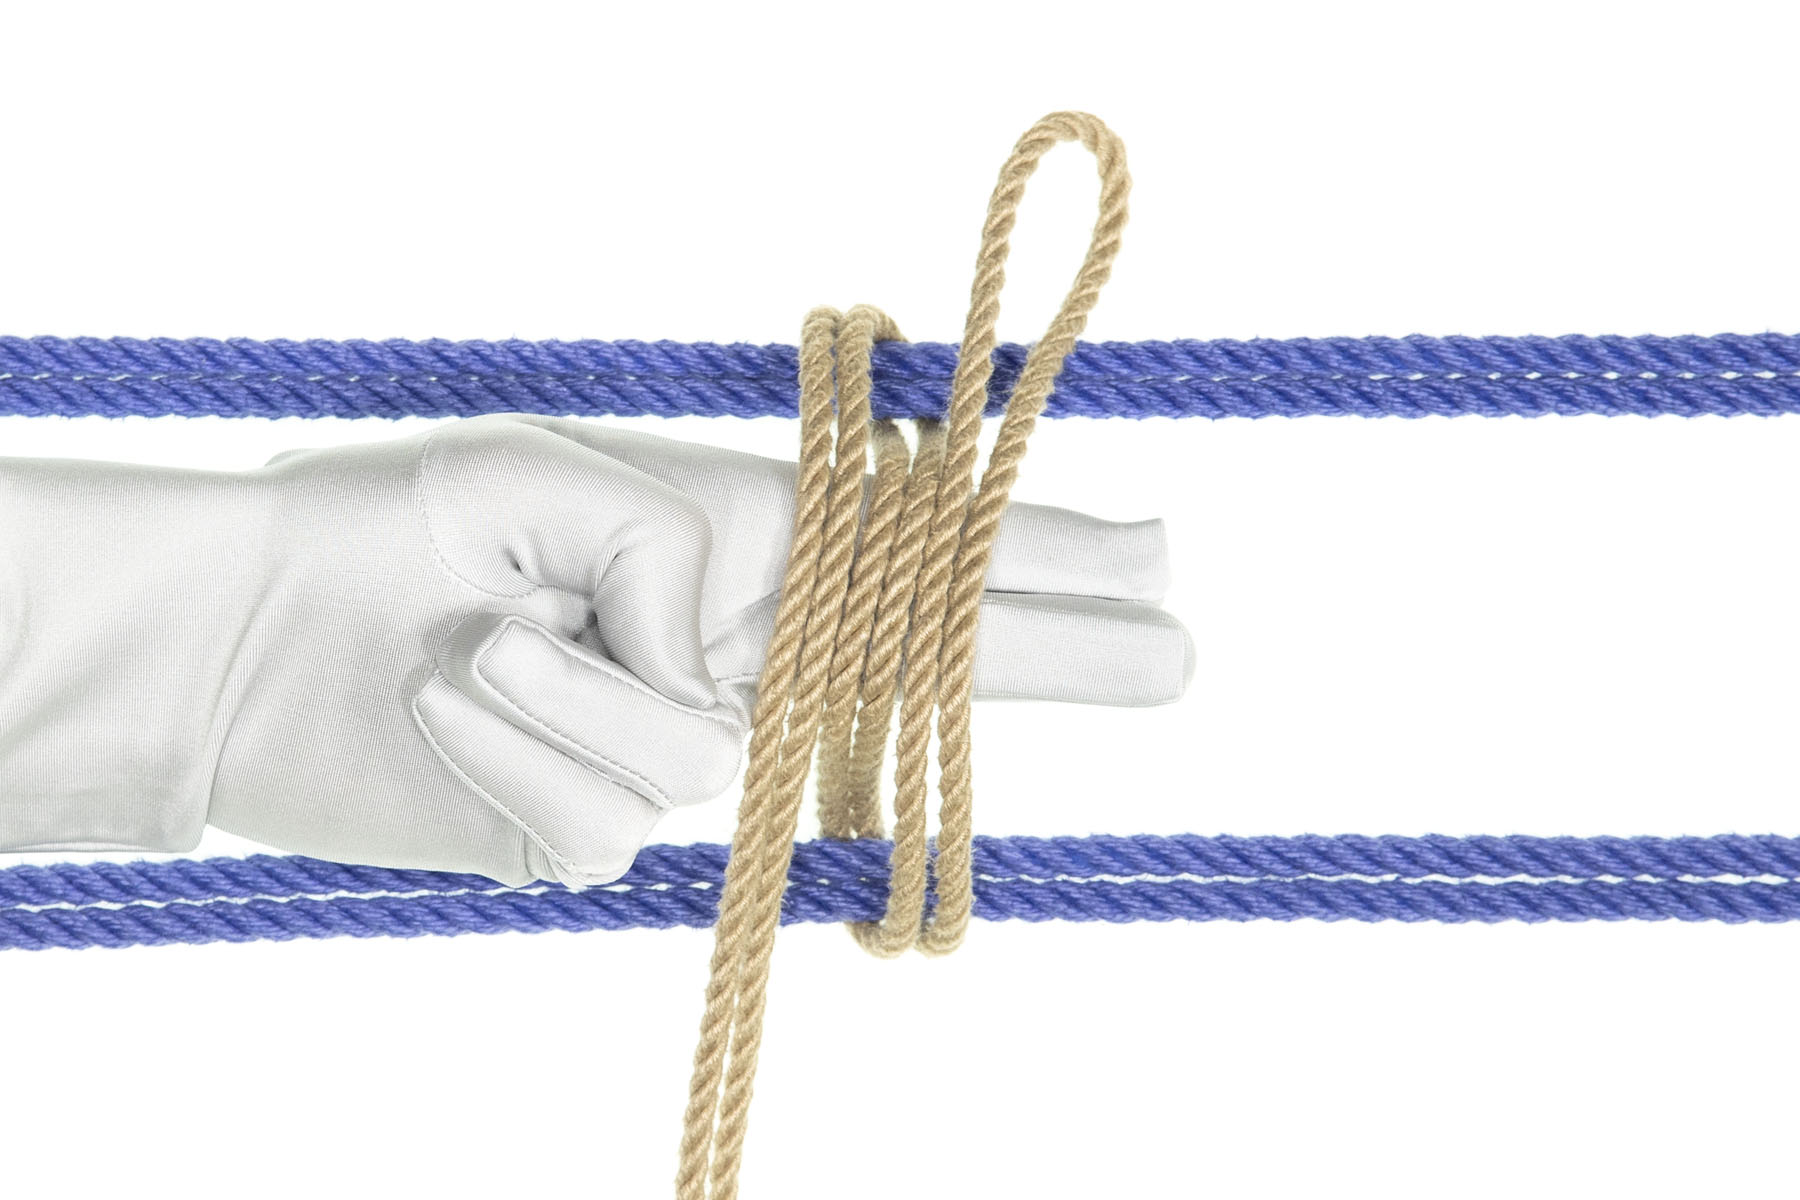
4Lay the bight on top of your fingers, next to the other two lines.

Notice that this configuration is identical to step 2 of the Somerville Bowline.

The tan rope has been tied into a Somerville bowline, with the standing part exiting to the upper left of the image. The knot is centered between the two blue ropes and two loops exit from it, one going around each of the blue ropes.

5Finish the Y hanger the same way you would tie a Somerville.

0

This work is licensed under a Creative Commons Attribution-ShareAlike 4.0 International License.